Identify the source of the leak by inspecting your roof for damaged shingles, cracks, or worn-out flashing around chimneys and vents. Clear debris, such as leaves or branches, that may be obstructing drainage systems, leading to water accumulation. Apply roofing sealant or tar to small cracks and replace any missing or broken shingles to prevent further leaks. For larger issues, consider using a waterproof membrane or contacting a professional roofing contractor to ensure a comprehensive fix. Regular maintenance, including cleaning gutters and checking for wear, will help extend the life of your roof and protect your home from water damage.
How To Fix A Leaking House Roof
Identify the leak's source
To identify the leak's source in your roof, start by inspecting the interior of your home, particularly near the ceiling and walls for water stains or mold growth, which can indicate the entry point of water. Next, perform an external examination of the roof, paying close attention to common leak areas such as flashing, vents, chimneys, and valleys, as these are often the most susceptible to water infiltration. If your roof has shingles, check for missing, curled, or damaged shingles, as they can compromise your roof's integrity, allowing leaks to develop. Employing a hose to simulate rain can help pinpoint the source; systematically wet sections of the roof and look for any resulting leaks indoors.
Assess roof condition
To effectively address a leaking house roof, begin by assessing its condition through a thorough inspection. Look for visible signs of damage, such as missing shingles, cracked tiles, or rusted flashing, which can reveal vulnerabilities in waterproofing. Pay close attention to areas around chimneys, vents, and valleys, as these are common leakage points. Documenting the size of any damage in square feet will help you determine the extent of repairs needed and guide your maintenance choices.
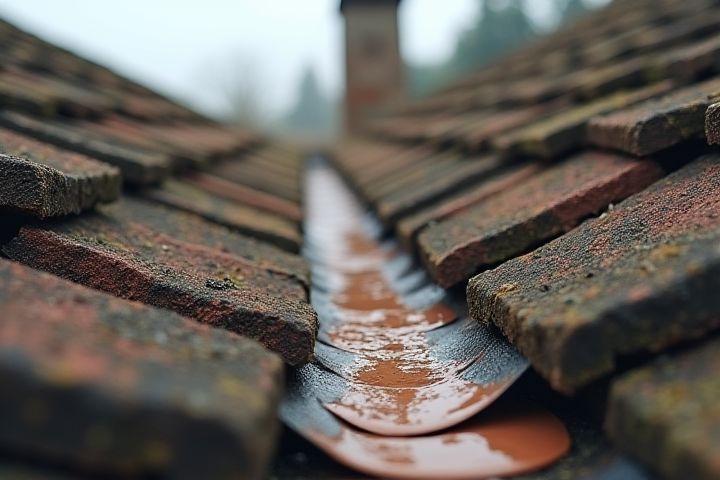
Clear debris and clean roof area
Start by safely accessing your roof, ensuring to wear non-slip shoes for traction. Clear any debris such as leaves, branches, or dirt that may be obstructing drainage systems or trapping moisture, as this can exacerbate leaks. Use a broom or a blower to clean the roof area thoroughly, paying special attention to valleys and gutters, where water often collects. Regular maintenance in this manner can extend the lifespan of your roof and significantly reduce the chances of future leaks.
Repair damaged shingles
To fix a leaking house roof, first assess the extent of the damage to your shingles, which typically have a lifespan of 15 to 30 years. If you notice cracked, warped, or missing shingles, replace them with new ones that match your existing roof in color and style. Properly secure the new shingles, ensuring they align with the surrounding ones and overlap the edges, typically with a margin of about 1 inch. To prevent future leaks, consider applying a waterproof sealant to the surrounding area after installation for added protection.
Seal gaps and cracks
To fix a leaking house roof, begin by inspecting for gaps and cracks where water can infiltrate. Use a high-quality roofing sealant, designed for exterior use, to fill these openings; look for products that offer flexibility and durability. Ensure you clean the area thoroughly before application, as dirt and debris can hinder adhesion. After sealing, monitor the repairs during the next rainfall to confirm effectiveness and prevent further damage to your home.
Reapply flashing or sealant
To fix a leaking house roof, first, identify the source of the leak by inspecting areas around chimneys, vents, and joints where roofing materials meet. Once located, carefully remove any damaged or old flashing and replace it with new, corrosion-resistant flashing, ensuring it fits snugly to create a watertight seal. If sealing is needed, apply a high-quality roofing sealant specifically designed for your roof type, using a caulking gun for precision. For optimal results, make sure the surface is clean and dry before applying the sealant, allowing it to cure according to manufacturer instructions, typically for a minimum of 24 hours.
Inspect gutters and downspouts
Inspecting gutters and downspouts is crucial in fixing a leaking roof, as clogged systems can lead to water buildup and roof damage. Ensure your gutters are free of debris, with an optimal slope of 1/4 inch for every 10 feet to promote proper drainage. Downspouts should extend at least six feet away from your home's foundation to prevent water from seeping back towards the structure. Regular cleaning, ideally every six months or after heavy storms, can prevent leaks and prolong the life of your roof.
Check attic for water damage
Inspecting the attic for water damage is a crucial step in fixing a leaking roof. Look for dark stains, mold growth, or wet insulation, as these signs indicate areas where water has penetrated. Use a flashlight to examine the underside of the roof decking for any visible leaks or drips; these may often be located near vents, chimneys, or pipe penetrations. Document any damage you find, as this information will be essential for planning repairs and preventing future leaks.
Ensure proper ventilation
Ensure proper ventilation in your attic to prevent moisture buildup, which can lead to roof leaks. Aim for an air exchange rate of 1 square foot of vent for every 300 square feet of ceiling area to maintain optimal airflow. Installing ridge vents or adding soffit vents can effectively facilitate the necessary air movement. Proper ventilation not only enhances the lifespan of your roof but also helps regulate temperature, avoiding ice dams in colder months.
Consider professional inspection
A professional inspection can identify underlying issues causing your roof to leak, such as damaged shingles, missing flashing, or compromised seals. Experts typically use advanced tools like infrared cameras to detect moisture trapped under roof layers, which might be invisible to the naked eye. Depending on the findings, repairs may range from minor shingle replacement, averaging $300 to $1000, to more extensive work on the underlayment or roof deck, often costing between $1500 and $6000. Investing in regular inspections can save you significant repair costs down the line, protecting your home's integrity and increasing its long-term value.