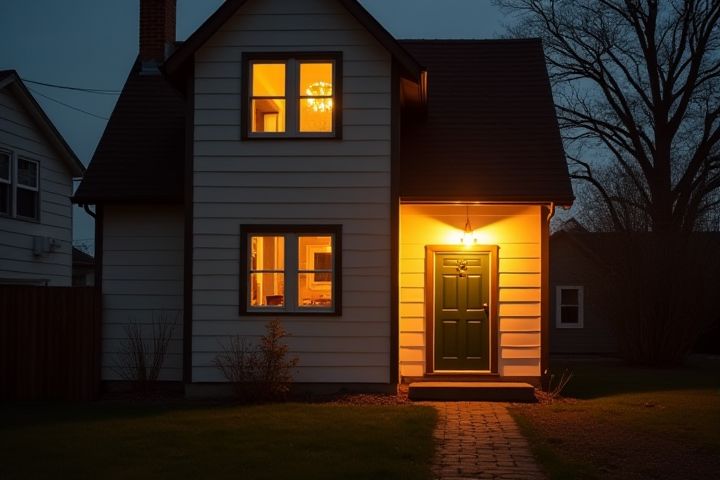
Proper lighting is essential for capturing stunning photographs of a house. Natural light during golden hour, shortly after sunrise or before sunset, provides a warm tone and soft shadows, enhancing architectural details. Utilize interior lighting, such as lamps and overhead fixtures, to add depth and interest; ensure they complement rather than overpower the available daylight. Position your camera to avoid harsh glare from windows, and consider using reflectors or diffusers to soften direct sunlight. Experimenting with different angles and exposures will help you achieve the desired mood and showcase your home in the best light.
How To Light A House For Photography
Utilize natural light effectively
To effectively utilize natural light for photography, position your camera close to windows, where soft, diffused light can enhance your images. The golden hour, occurring just after sunrise or before sunset, offers a warm, flattering glow that elevates the mood and quality of your photos. Incorporating reflective surfaces, such as mirrors or white walls, can bounce light around the room, illuminating darker areas and creating depth. Experimenting with different angles allows you to capture varying light patterns, making each shot unique and captivating.
Invest in softbox lighting
Investing in softbox lighting enhances your photography by providing a diffused, even light that reduces harsh shadows and highlights. Softboxes simulate natural light by dispersing it across a wide surface, making them ideal for portrait, product, or indoor photography. You can achieve professional-quality images with softboxes by positioning them strategically to illuminate your subject without overwhelming intensity. Ensure to choose adjustable models to control the light intensity and direction, allowing flexibility in achieving your desired aesthetic.
Experiment with LED panels
Experimenting with LED panels for lighting your house during photography can transform the mood and clarity of your images. These energy-efficient lights can produce adjustable color temperatures, typically ranging from 2700K to 6500K, allowing for versatile setups that suit various scenes. Positioning LED panels at a 45-degree angle to your subject can reduce harsh shadows and evenly illuminate your space. For optimal results, consider using diffusion materials to soften the light, enhancing texture and depth in your photographs.
Use reflectors for balance
Using reflectors in photography is essential for achieving balanced lighting, especially in a house setting. By strategically placing reflectors, you can redirect natural light or additional artificial light to fill in shadows and illuminate darker areas of a room. Select reflective materials like white foam boards, silver or gold reflectors to achieve different tones; silver provides a cooler effect while gold adds warmth. Position your reflectors opposite your light source, ensuring they enhance the overall composition without creating harsh contrasts, allowing for a softer, more inviting atmosphere in your photos.
Implement diffusers for softer light
Implementing diffusers is essential for achieving softer light in house photography, as they scatter harsh light, reducing shadows and creating a more appealing ambiance. You can use materials such as sheer curtains or professional diffusion fabrics, which can lower light intensity by up to 50%, making the scene more visually balanced. The placement of diffusers should be strategic, ideally positioned between the light source and the subject, to create a gentle wrap around your subject matter. Experimenting with these diffusers can significantly enhance the aesthetic quality of your images, yielding results that often resemble professional-grade photography.
Avoid harsh overhead lighting
To achieve optimal lighting for house photography, it's essential to minimize harsh overhead lighting that can cast unflattering shadows. Instead, utilize soft, diffused sources of natural light by opening curtains and strategically positioning mirrors to bounce light around the room. Consider using floor or table lamps with warm bulbs to create a cozy ambiance, ensuring that they don't overpower natural light. You can also incorporate reflectors to enhance the luminosity of the space without creating stark contrasts.
Experiment with color temperature
Experimenting with color temperature is essential for achieving the desired mood in your photography. Use warm bulbs, around 2700K for a cozy ambiance, while opting for cooler lights at 5000K to emulate daylight that enhances clarity and sharpness. Mixing different color temperatures can create visually stunning contrasts; for instance, pair warm LED bulbs with cool fluorescent lights to add depth. Consider using gels on your light sources to fine-tune the color temperature, allowing you to innovate and craft unique, captivating images in your house.
Use light stands for stability
Use sturdy light stands to ensure stable lighting setups for your photography. By securing your lights on these stands, you minimize the risk of accidental tipping or moving, allowing for consistent illumination throughout your shoot. Adjustable height features on light stands provide versatility, enabling you to position lights at various angles and elevations to achieve desired effects. Properly balanced and positioned lights enhance the overall quality of your images, creating a professional look in your house photography.
Practice with bounce flash techniques
To effectively light a house for photography using bounce flash techniques, first identify surfaces like walls and ceilings that reflect light. Position your external flash at an angle to these surfaces, ensuring the light bounces back into the room, creating a soft and diffuse illumination. Experiment with different angles and heights of the flash to achieve a balanced exposure without harsh shadows or hotspots. Adjust the flash power and your camera settings to maintain the correct exposure, allowing your architectural details and interior elements to shine.
Position lights at various angles
Positioning lights at various angles is crucial for achieving dynamic and professional-looking photographs of your house. Aim to place lights at 45-degree angles to the subjects to create depth and texture, highlighting architectural features and minimizing harsh shadows. Experiment with different heights; for instance, placing lights on the ground can illuminate lower aspects of the house, while overhead lights will bring out the roof's details. Remember to adjust intensity and color temperature to match the natural light conditions, ensuring that your photos convey the desired ambiance and appeal.
