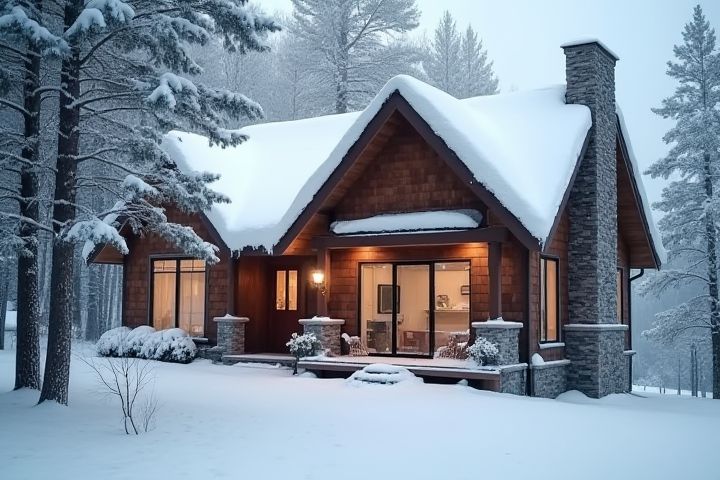
To winterize a house effectively, start by insulating pipes to prevent freezing and bursting during extreme cold temperatures. Check the roof for damaged shingles or leaks, as these can lead to water damage when snow melts. Ensure windows and doors are properly sealed with weather stripping or caulking to keep cold air out and maintain warmth inside. Clean gutters and downspouts to allow meltwater to flow away from your home's foundation, preventing ice dams. Finally, service your heating system to ensure it operates efficiently and consistently throughout the winter months, keeping your living space comfortable.
How To Winterize A House Properly
Insulate pipes
To effectively winterize your house, insulating pipes is crucial to prevent freezing and costly damage. Begin by identifying vulnerable areas, such as basements, attics, and exterior walls, where pipes are more prone to cold exposure. Use foam pipe insulation or fiberglass sleeves, ensuring that you cover all hot and cold water pipes thoroughly, as these can lose heat rapidly. For added protection, consider applying heat tape to especially susceptible sections and sealing any drafts around windows and doors to maintain consistent indoor temperatures.
Seal windows and doors
To effectively winterize your house, begin by sealing windows and doors to prevent drafts and heat loss. Use weather stripping or caulk around frames; consider energy-efficient options that can reduce heating costs by up to 15%. Inspect for gaps and cracks, paying special attention to movable parts like sashes and thresholds, as these can significantly impact your home's thermal efficiency. Completing this task not only enhances comfort but also contributes to lower energy bills during the colder months.
Clean gutters
Clean gutters are essential for effective winterization, as clogged gutters can lead to ice dams and water damage. To properly clean your gutters, remove debris such as leaves and twigs, ensuring that water flow is unobstructed; this is particularly important before frost sets in. Using a ladder, inspect the gutters for leaks or damage, as repairing any issues can prevent costly repairs down the line. You may also want to install gutter guards to minimize accumulation and simplify maintenance in the future.
Reverse ceiling fans
To properly winterize your house, consider adjusting your reverse ceiling fans to promote energy efficiency. By switching the fan direction to clockwise at a low speed, warm air that naturally rises to the ceiling is pushed downward, effectively keeping your living space warmer. This simple adjustment can lead to a reduction in heating costs by as much as 15%, ensuring your home stays cozy without excessive energy consumption. Remember to schedule this maintenance before the cold weather sets in, making it a seamless part of your winterization process.
Service heating system
To winterize your house, focus on your heating system, as it plays a crucial role in maintaining warmth. First, schedule a professional inspection of your furnace or boiler to ensure optimal operation during the cold months; approximately 27% of heating system failures stem from lack of maintenance. Change the air filter every one to three months to improve efficiency and air quality, as clogged filters can restrict airflow by up to 15%. Consider installing a programmable thermostat, which can reduce heating costs by up to 10% by adjusting temperatures based on your schedule.
Install storm windows
Install storm windows to enhance your home's energy efficiency and protect against harsh winter weather. These windows can reduce heat loss by up to 50%, making your home more comfortable and lowering heating costs. Choose double- or triple-pane storm windows for the best insulation value, with an R-value of 3 to 5, depending on the design. Properly sealing gaps with caulk or weatherstripping before installation also ensures maximum protection from cold drafts.
Draft-proof attic
To draft-proof your attic effectively, start by inspecting common problem areas such as gaps around vents, chimneys, and electrical wiring. Sealing these openings with foam insulation or caulk can significantly reduce heat loss; research indicates that up to 30% of a home's heating can escape through unsealed areas. Consider adding weatherstripping to any attic doors and ensuring proper insulation levels of at least R-38, which enhances energy efficiency during colder months. Lastly, installing baffles in soffit areas will promote airflow and prevent ice dams, maintaining a balanced temperature in your attic space.
Check roof for leaks
Inspecting your roof for leaks is essential during winterization, as snow and ice can exacerbate any weak points. Look for missing or damaged shingles, especially in valleys and around vents, to ensure proper water drainage. It's advisable to check the attic for signs of moisture or leaks, which indicate potential roof issues. By addressing these concerns proactively, you can prevent costly damage and maintain a safe and dry environment in your home throughout the winter months.
Shut off exterior water taps
To winterize your house effectively, begin by shutting off exterior water taps to prevent frozen pipes. Locate the shut-off valve, usually found in your basement, crawlspace, or utility room, and turn it clockwise until fully closed. After shutting off the valve, open the exterior taps to drain any remaining water and relieve pressure in the pipes. Remember to insulate any exposed pipes with foam or wrap to protect against freezing temperatures, ensuring a warm and secure living space during the winter months.
Test smoke and carbon monoxide detectors
Testing smoke and carbon monoxide detectors is crucial during the winterizing process to ensure safety amid increased use of heating systems. Start by pressing the test button on each device to confirm they sound an alarm; replace batteries if they do not. For optimal performance, replace any detectors that are older than 10 years, as they may not function effectively. Additionally, you should check that detectors are installed within 20 feet of sleeping areas and follow local regulations for strategic placement.
